Shark vacuums are one of the finest on the market. With their massive suction power, these cleaners come handy on all types of floors. Add to the equation their ease of maneuverability – as most of them are equipped with swivel steering – and you can use your Shark on stairs too.
However, despite all this, some Shark vacuums are susceptible to belt breakage.
These are the models which have a motorized cleaning head which relies on a belt for its rotation. What these models lack, however, is an emergency cutoff which could shut down the system if the brush gets clogged. If that does happen, it is the belt of the Shark which becomes the victim.
Regardless of the type of Shark vacuum that you may own, this step-by-step guide will allow you to replace a vacuum belt without any external help.
Shark Vacuum Belt Replacement
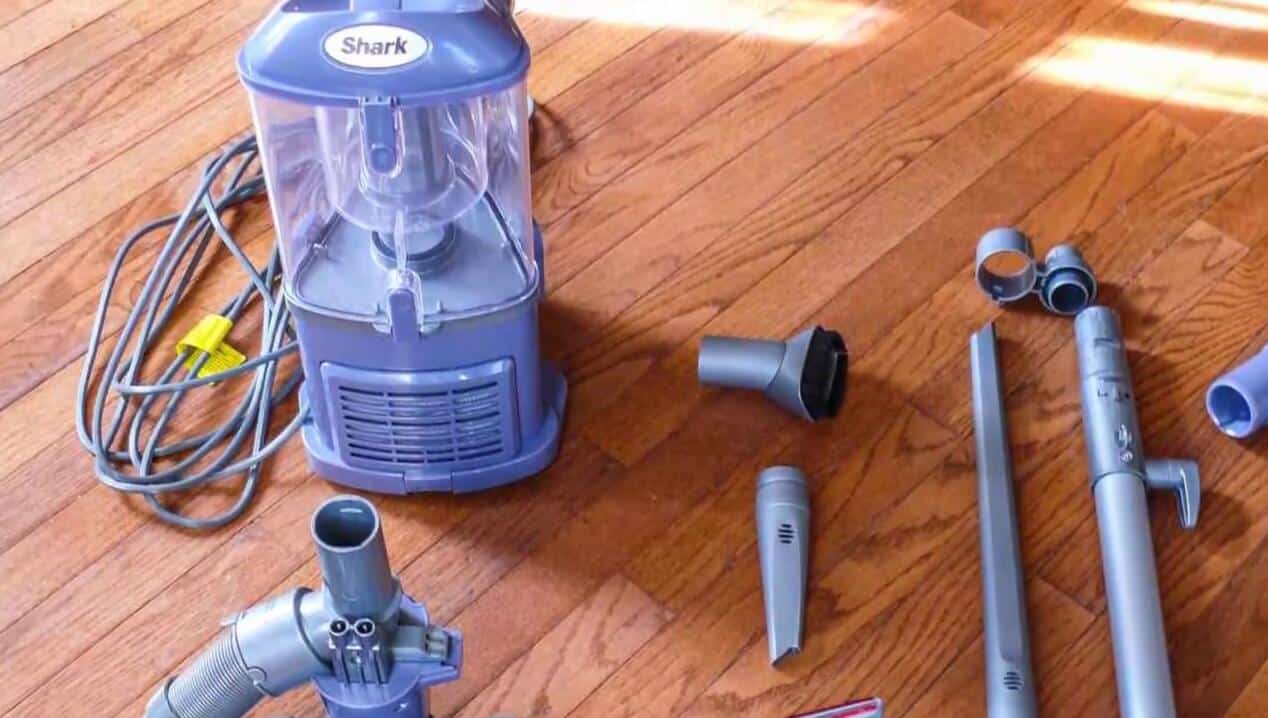
Before we lead you through the procedure, there are some tools you need to gather. That’s because they are going to make the entire process of removing and replacing the belt a whole lot easier. Make sure you have them nearby before you try and replace the belt.
Tools You’ll Need
- Screwdriver: You might need either a flat head screwdriver or a Philips one. Though as you might guess, the type of Shark that you are going to dissemble – upright vacuumor otherwise – would influence your choice
- Old Hair Brush: Since you’re going to open up the vacuum, why not grab the opportunity to clean the brushroll as well? That’s where a hairbrush will come handy.
- Scissors and Pliers: Grab a pair of both as they are going to help you free the roller brush of any objects that may have got entangled in it. As for the pliers, they will come handy for removing stubborn objects from the roller brush.
Let’s Start!
Got all the above mentioned tools in your custody? Then let’s kick things off.
Step # 1:
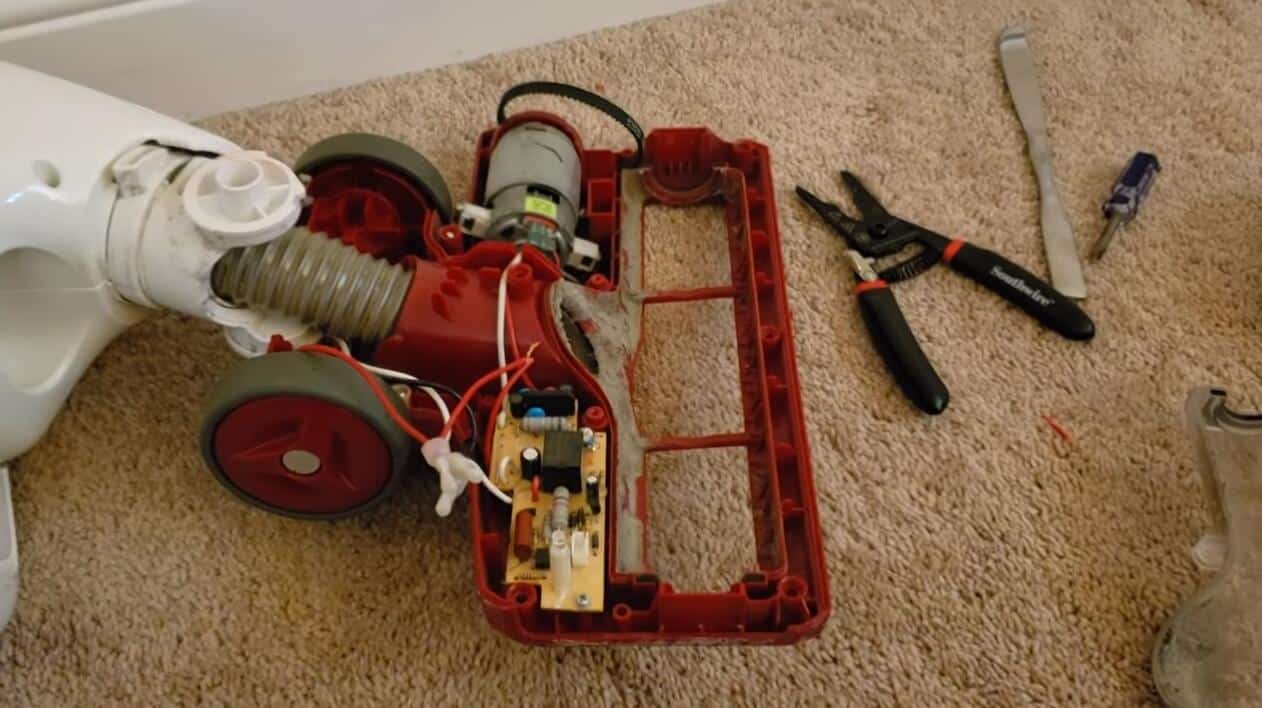
First things first, unplug the vacuum. Follow it up by removing and empty the dirt canister before locking the unit in an upright position. Then lay your Shark on the floor so that you can easily tinker with its brush roller.
Step # 2:
Using a screwdriver, remove the screws which might be connecting the roller cover with the body of the vacuum. While we cannot tell you where to find the screws – as each model has them on a different position – what we can assure you that they’d be easy to spot.
Step # 3:
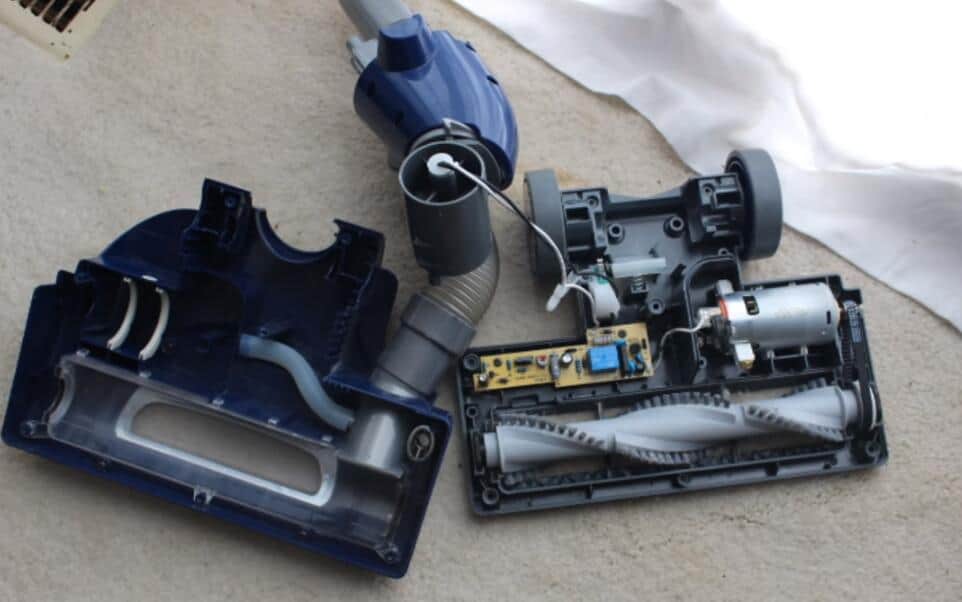
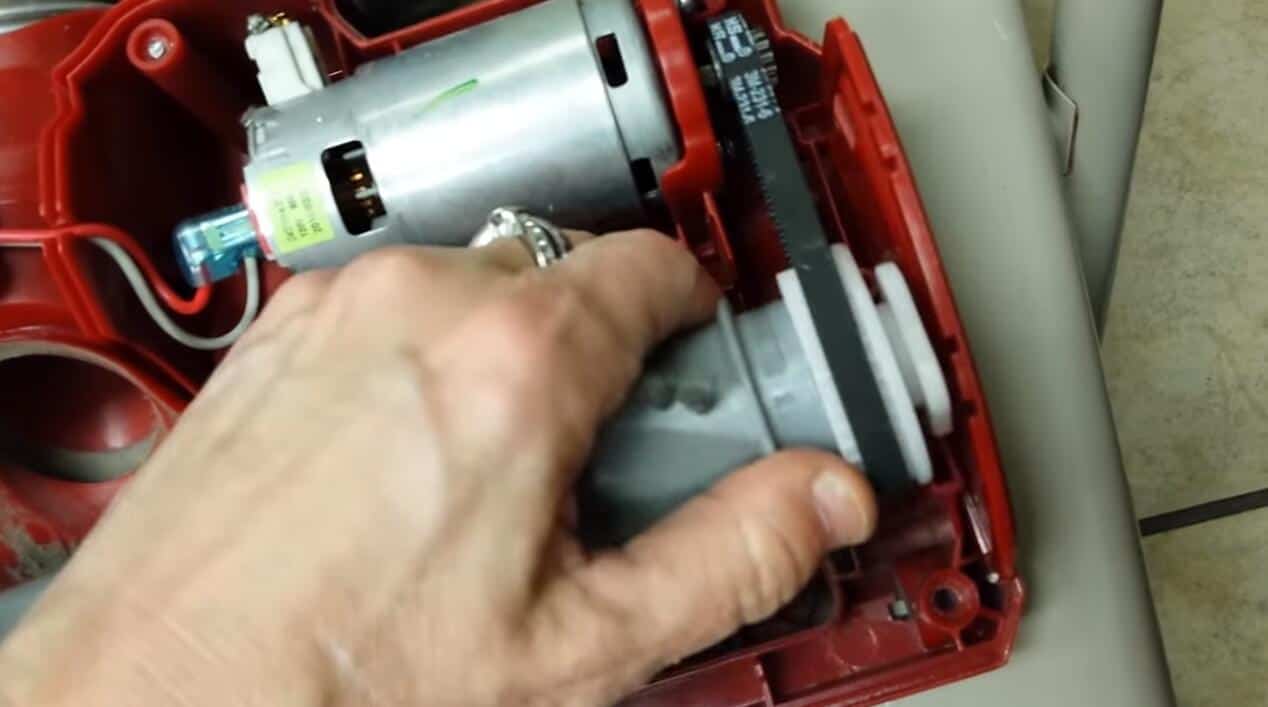
As soon as you’d detach the roller cover, you’d come across two ends of the roller – one which is near the belt and the other which is away from it. Grab the latter and angle it out of its holder.
Once it’s free, repeat the same procedure with the other end of the roller. If you see that the belt hasn’t detached yet, pull it off the roller, then slip it off the motor shaft.
Step # 4:
Using a hairbrush and a pair of scissors, clean the brush roll as thoroughly as possible. If you feel that there are some old hair and debris that you can’t remove easily, use pliers. Though you need to keep the pliers away the bristles or else they might cut them, thereby doing more harm than good.
Step # 5:
Take the new belt and slip it around the motor, roller, and seat – in that order. Grab both ends of the roller and jerk it as far away from the motor shaft as possible, while maintaining equal tension on both ends in the meantime.
Step # 6:
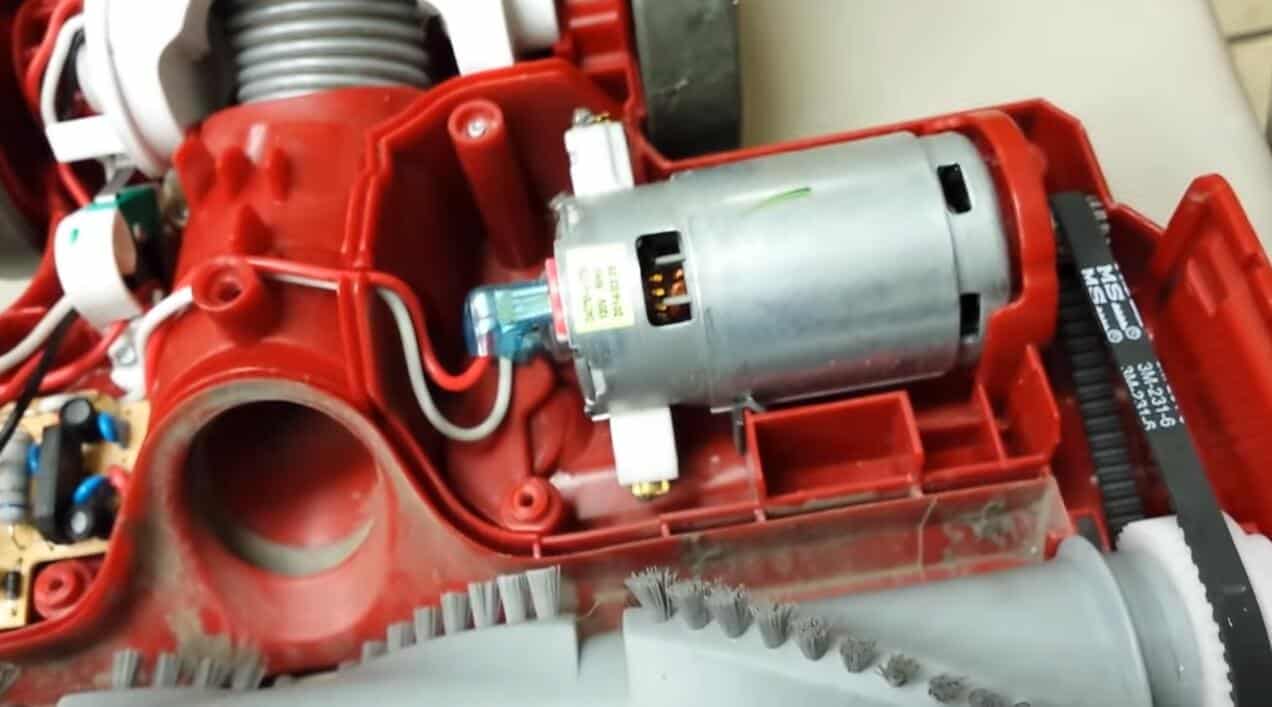
In this step, you’re going to push both the ends of the belt in the holder in the vacuum head. To do this, push the farthest end of the belt partially into the vacuum’s head holder. Then, shove the nearest end of the belt in its holder. When you can see that both ends are seated on their own, shove them all the way in.
Step # 7:
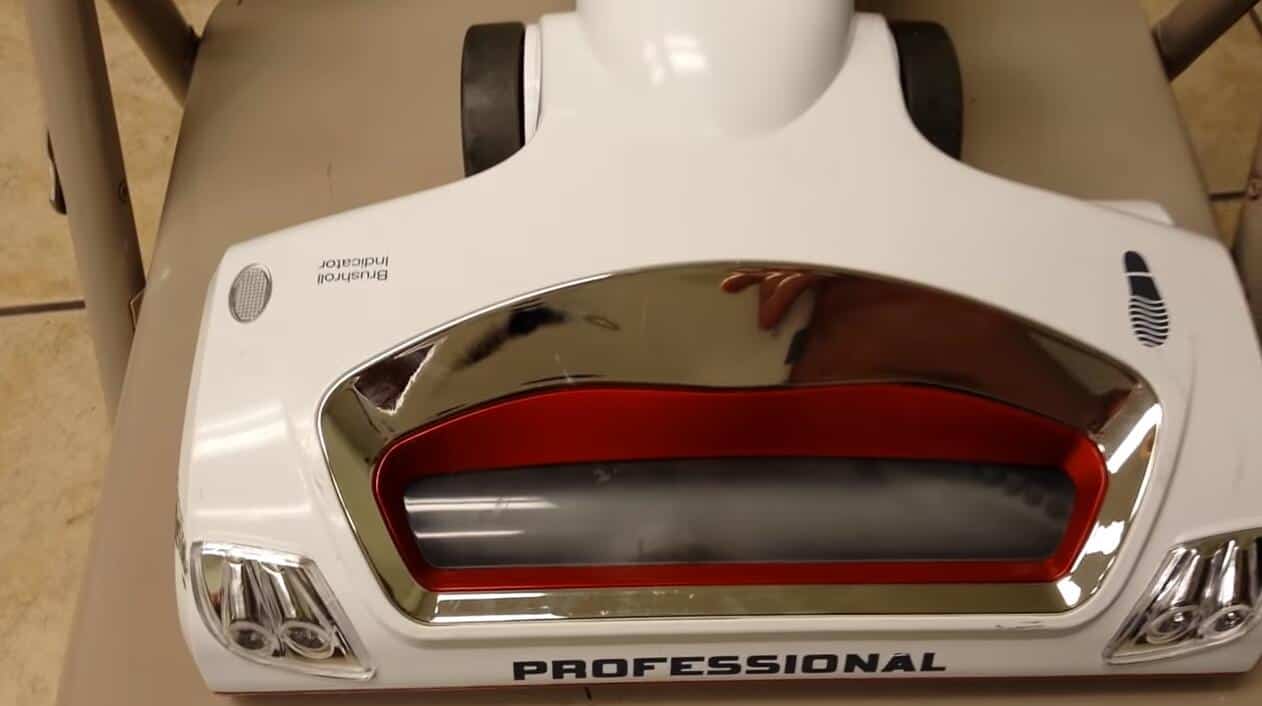
The final step involves attaching the roller cover which you had detached in step number one. To do it, screw the roller cover into the body and set the vacuum upright when you’re done. Then, test the roller by plugging the vacuum in.
Conclusion
Some people think that using a vacuum for pet hair is the biggest reason for the breaking of its belt – as pet hair end up clogging the brushroll. However, as our experts have told us, that isn’t the case – as Shark vacuums for pet hair are no more susceptible to belt breakage than, say, bagless vacuums from the same manufacturer.
Regardless, whatever the reason behind the breakage of your vacuum’s belt, knowing how you can replace it on your own is going to save you a lot of stress (and money).