Does your canister vacuum have a suction problem? If it seems to you that the suction is not as powerful as it was, there are several possible reasons for that. Of course, the first thing that comes to mind is a clog somewhere in the vacuum or the attachment. Or the filters are dirty. But, you can also have a leak. The hose is not an unbreakable thing, but it can be fixed. So here are some ways to find and repair a vacuum cleaner leak.
Find all the Tools You Need
There are several things you may need when you start the process of finding and fixing an upright vacuum leak, or any vacuum type leak for that matter. Since you know that your suction is not working, but you do not yet know the reason, here are some things you need to gather. One of the frequent reasons for weak suction is dirt build-up. To get rid of the clogs, you need a wire coat hanger which you can straighten and then pick out the clogs.
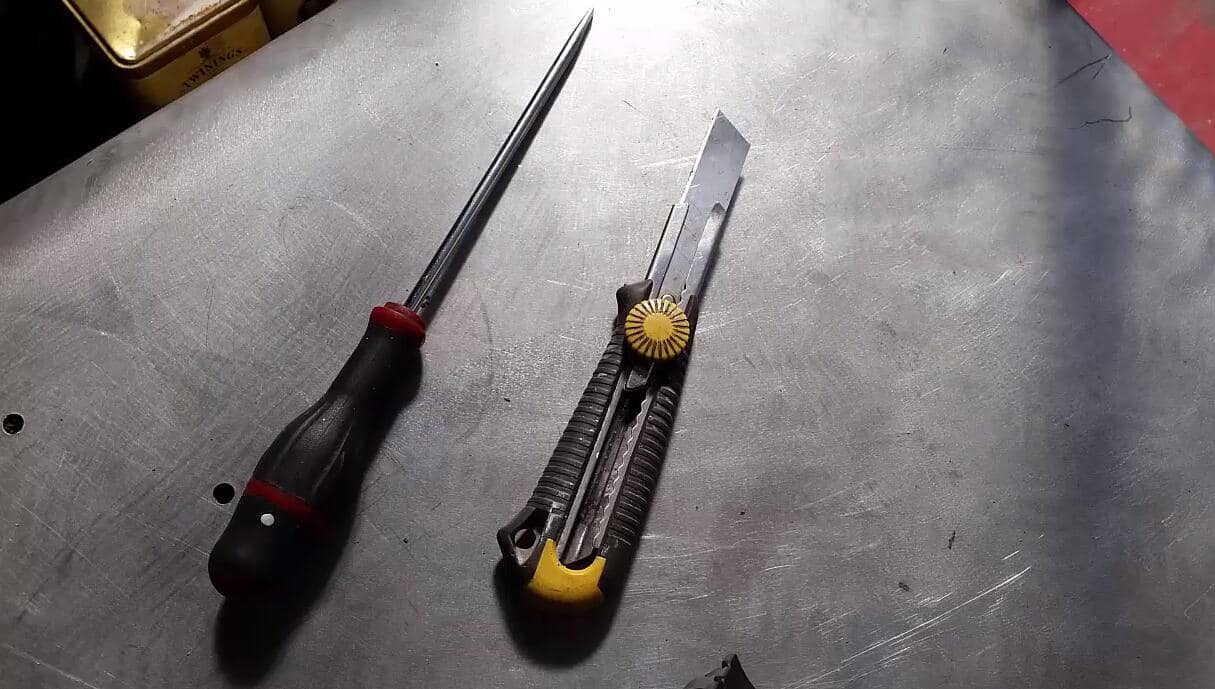
Another useful thing to have is broom to help you stretch the hose. While you are at it, take duct tape to help you with cracks or tears in the hose. You may also need a knife, and some chalk or talc powder. Now that you gathered everything, consider taking your vacuum outside while you are looking for a leak. It is surely very dirty on the inside, even if you have maintained it regularly. Also consider wearing a mask to protect yourself from breathing in all the dust and dirt you will encounter.
Inspecting the Vacuum Hose
The next step is finding the actual problem. Yes, you have certain assumptions at this point, but you need to locate the source of the issue so you would be able to fix it. While a cordless stick vacuum may be out of power so the suction is weak because of that, this is probably not the case if you have a corded stick vacuum or other corded types of vacuums.
So, you need to check for clogs in the hose. Stretch the entire hose and use a straightened coat hanger. or a broom handle for stubborn clogs. When you did that, and when you are sure that there are no clogs left, then it is time to find the leak. This is a bit longer process, and a tedious one, so be patient. In the end, it will be worth it.
First, you need to take the hose, stretch it and feel along the hose with your fingers. Make sure you cover the entire hose. You should feel a gap somewhere along the way. If this does not work, there is a faster and maybe more efficient way to do it. You should fill the hose with water and shape it like the letter U. When you move the hose you should see the water leaking where the gap is.
Fixing a Vacuum Cleaner Leak Near the End of the Hose
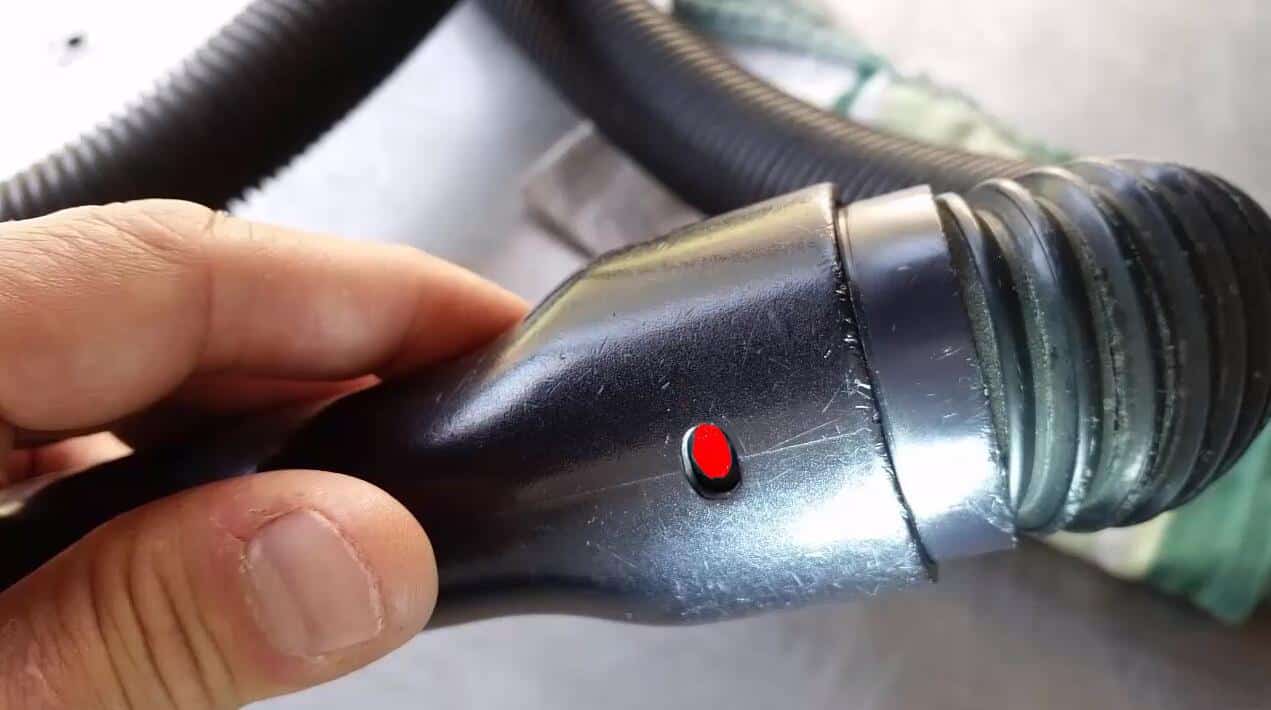
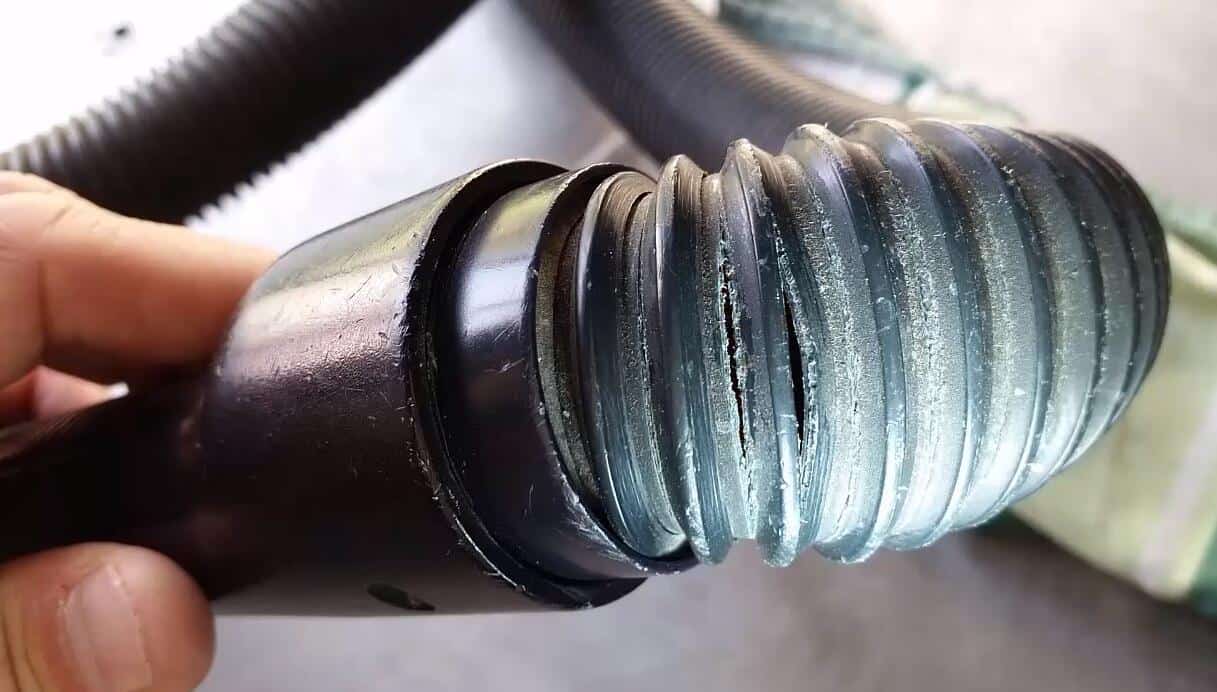
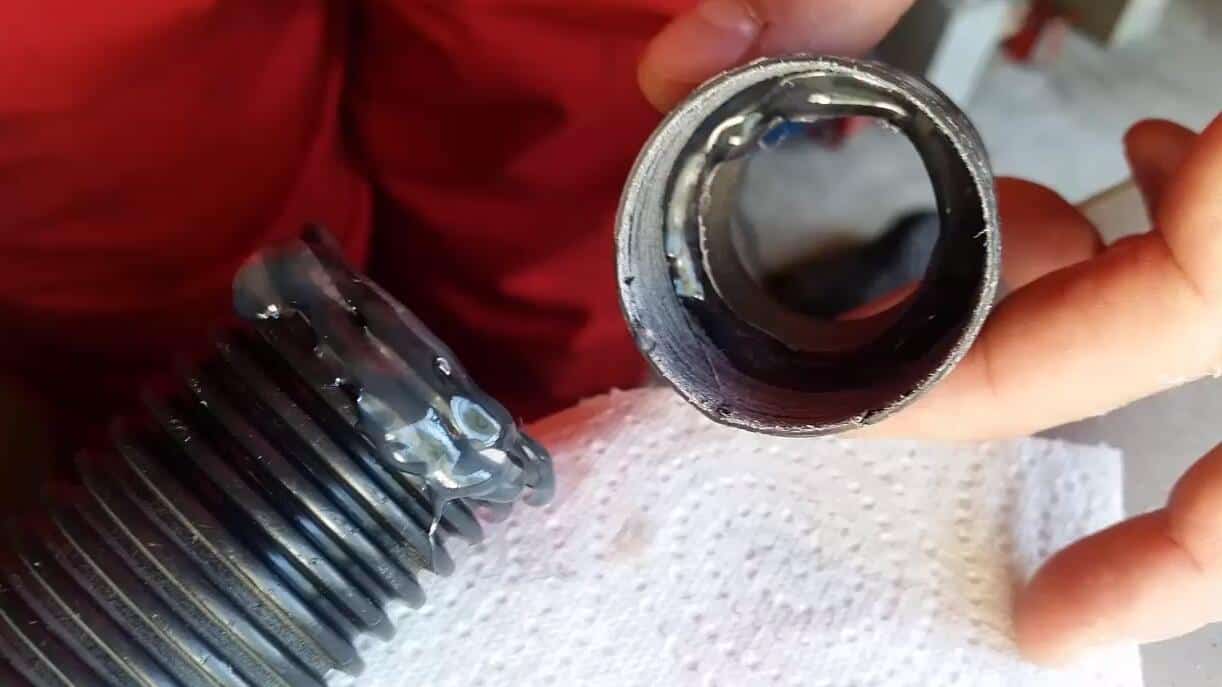
Whether you have a cordless vacuum or a corded one, there are several ways you can approach the issue of a hose leak. The first scenario is a bit easier to deal with. If the gap is near one of the hose ends, you can take the knife you prepared earlier and cut it off. Make a cut right above the leak and then reattach the plastic connector. Beware that you cannot do this if your vacuum has a fitted connector that cannot be taken off.
Even though this is pretty straightforward, maybe you will benefit from a demonstration. So here is a short video for you
Fixing a Vacuum Cleaner Leak in the Middle of the Hose
If you are not lucky enough to find a gap near one of the ends of the hose, then you need to resort to other solutions. This is where the duct tape we mentioned earlier comes into play. After you have found the gap, clean that spot thoroughly with dish soap. Then, take that broom again and cover it with chalk or powder. Stick the broom into the hose and stretch it out completely. This will also help you see the entire gap since you will see white from the broom peeking through.
Then, cut the duct tape in strips and cover the gap fully. After you did that, you can take out the broom and check whether the tape is sticking properly and completely sealing the tear. The final step is to get rid of the stickiness inside the hose. Right now, the sticky side of the tape is facing the inside of the hose and all kinds of nasty stuff will stick to it if you do not deal with this. The easiest way is to sprinkle the chalk or the powder your previously used on the floor and vacuum it. After repeating this process several times, you should have a working hose.
Keep in mind that this is only a temporary solution. You can not run your vacuum forever with this fix. Eventually, the tape will get warped and stop doing its job. You will then have to replace the hose or the entire vacuum. But for now, this little trick should do. We recommend that you start looking for a new hose right away since it can be a hassle to find. Especially if you have an older vacuum model.
Final Thoughts
You should not be surprised if perfectly good hose tears and stops working properly. No matter how high-quality it is, if you are using your vacuum often as most people do, the hose will get damaged. You can, of course, be mindful of how you are using your vacuum. Make sure you are not twisting the hose unnecessarily and always adjust the position of the vacuum so you do not put strain on the hose. But even if the gap happens, now you know how to find and repair a vacuum cleaner leak.