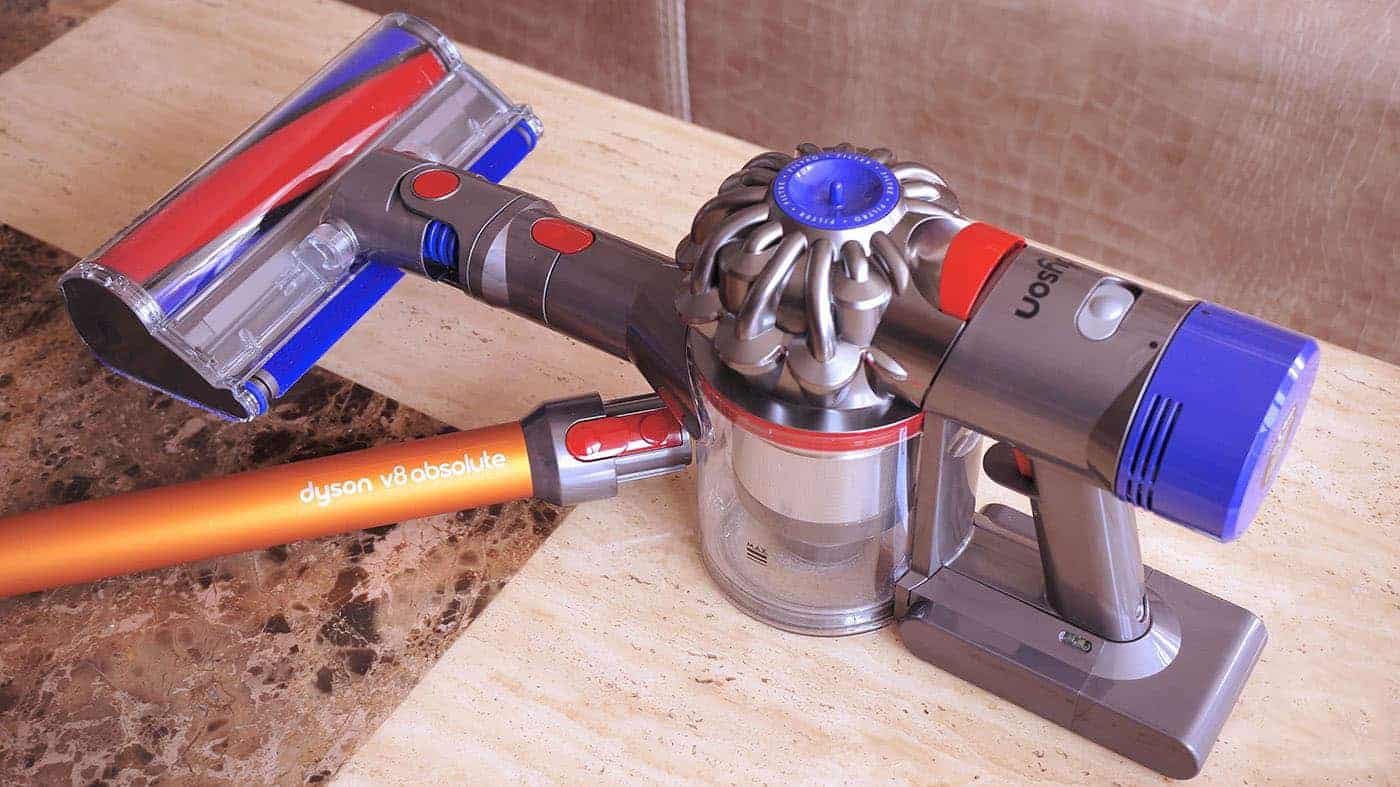
Does it seem like your Dyson vacuum is losing suction and isn’t cleaning too well anymore?
Thanks to their root cyclone technology, Dysons are quite popular for their cleaning efficiency. However, with time, dust and debris can clog the cyclone system, causing the vacuum to lose suction.
I have found that after extended use, I am talking about a couple of months here, taking my cordless stick vacuum apart, and cleaning the inside parts improves suction and restores cleaning efficiency considerably.
In this article, I will show you, step-by-step, how to disassemble the Dyson root cyclone vacuum. Generally, most Dyson vacuum with this technology have more or less similar features and the process of disassembling should be the same.
Things You Will Need
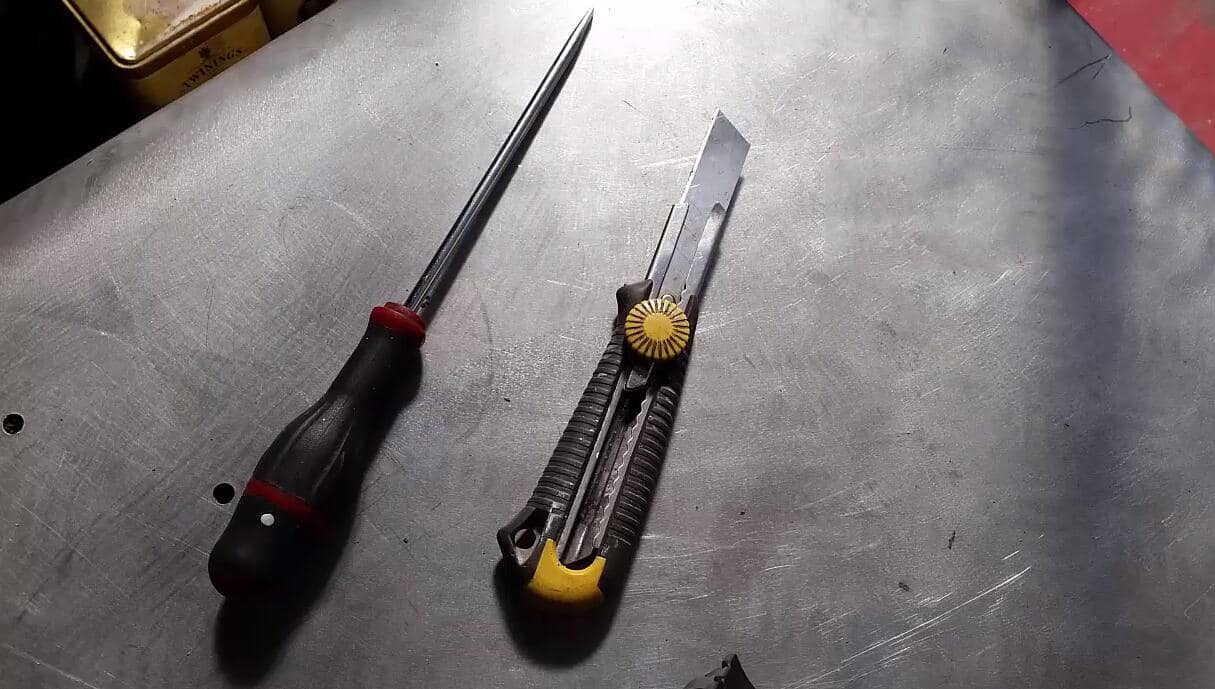
- TX10 or TX15 screwdriver
- Vacuum hose or a handheld vacuum
- Small cleaning brush
- Running water
- Pair of pliers (optional)
How To Disassemble A Dyson Root Cyclone Vacuum
Step 1
The first step to disassembling a Dyson root cyclone is detaching the cyclone and bin from the rest of the upright vacuum just the same way you do when you want to empty the bin. Simply push the clip button on the top of the cyclone’s handle and lift the cyclone to unclip it from the vacuum stand.
If you have not emptied the bin, now is a good time to do so. Right underneath the cyclone’s top handle is a pull-up trigger that opens the dustbin door at the bottom.
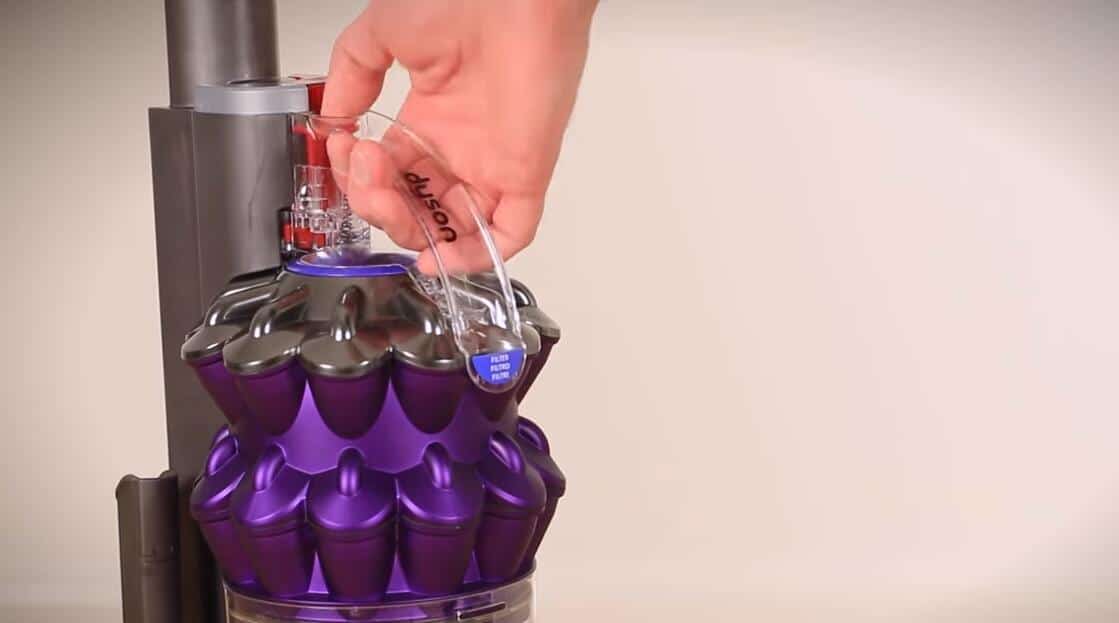
Step 2
It is best to disassemble the vacuum on a stable tabletop or a floor rug. With the door of the dustbin still open, separate the transparent dustbin chamber from the rest of the cyclone. Simply press on the latch button on the side of the cyclone to release the dustbin.
Place the transparent dustbin aside for now so you will only be left with the turbine-looking vortex cyclone where a lot of dust and debris would have typically accumulated after long use. If you use your vacuum for pet hair cleaning much of the time, you might want to consider opening up and cleaning the inside parts of the vacuum every six months or so.
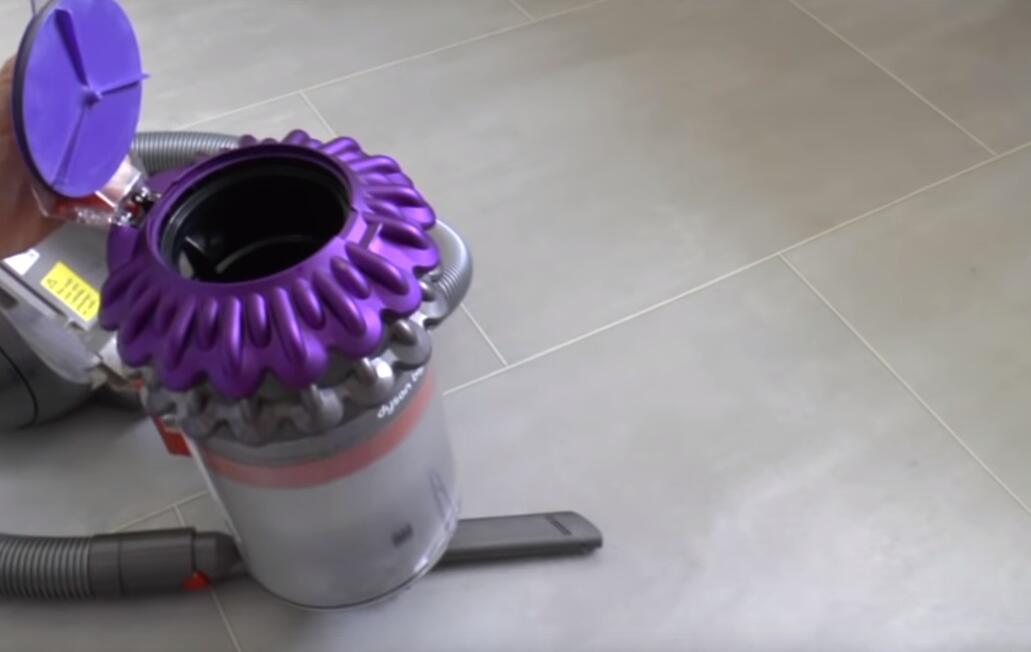
Step 3
Whether, it is a cordless vacuum or a canister vacuum, if you are looking to give your cleaner a detox, so to speak, the cyclone is what you really want to take apart to get to those hard to reach areas where much of the dust is trapped.
With the cyclone in an upright position, look for three black torque screws at the very top part of the cyclone. Using your TX10 screwdriver, untighten and remove the screws and set them aside.
Step 4

With the screws out, pull that top cap off the cyclone. Using the handle, gently pull the cap out. This will expose the upper interior part of the cyclone system. Attached to the cap is a medium-sized rod, which releases the dustbin door open when you pull the respective trigger on the handle.
What I like to do at this point is to direct a vacuum hose into the hollow space left after removing the cap. This helps to get rid of the pesky dust inside the cyclone system.
Step 5
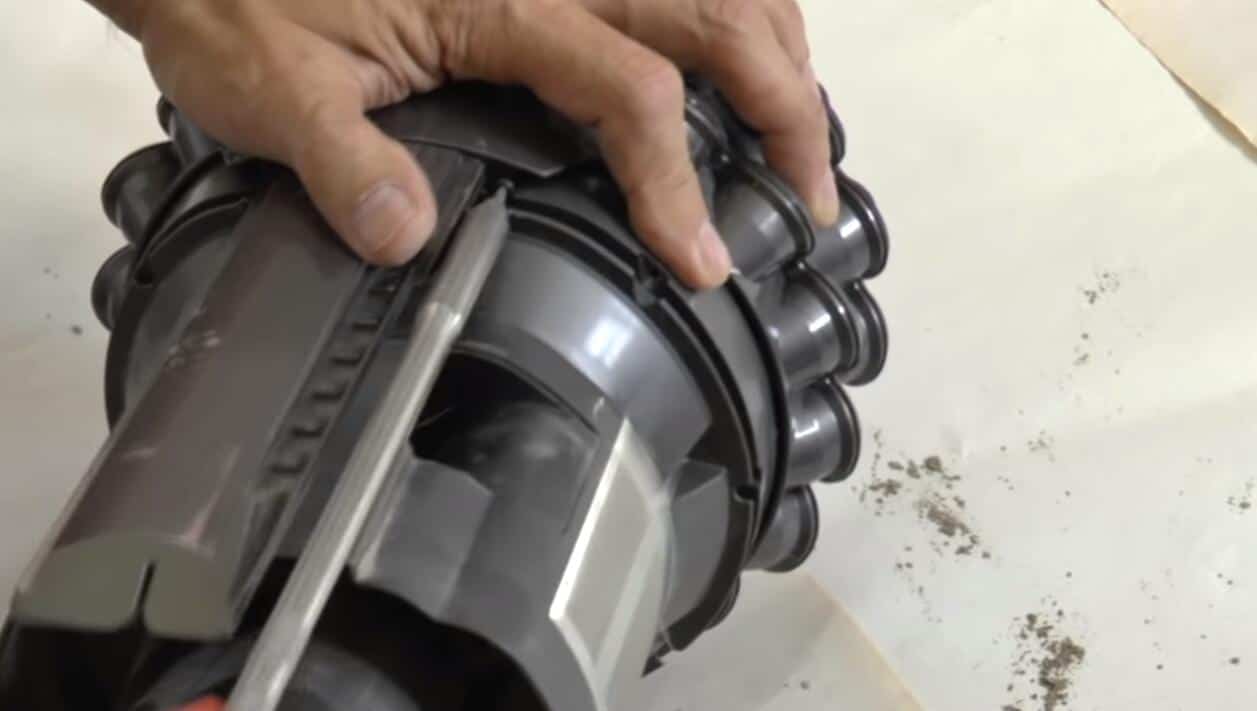
Other than the upper cap, the lower part of the vortex cyclone is also a haven for dust and debris and should be disassembled for cleaning as well. To do this, pull each of the flaps or fin-like protrusions one by one to release this lower component from the grooves holding it in.
As you pull on each fin, you should be able to hear a click as the lower part frees up from the rest of the cyclone. You can use a pair of pliers to pull the fins if you have a hard time doing it using your hands.
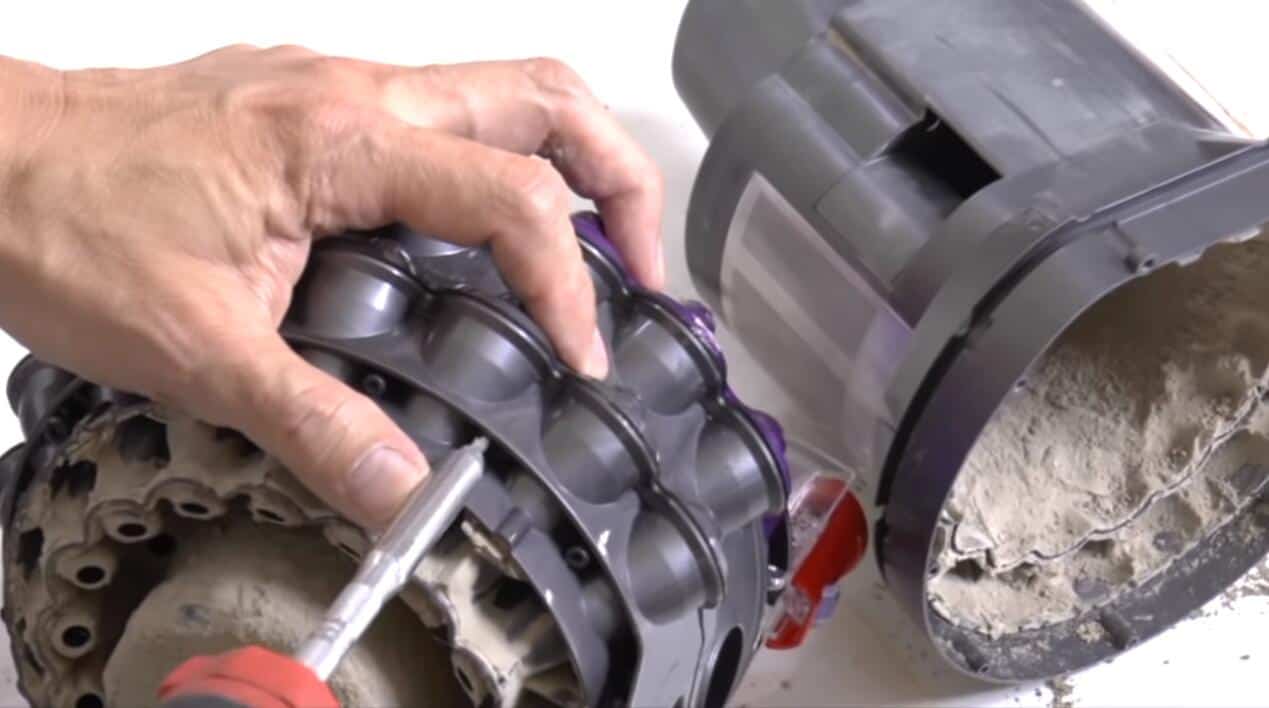
Step 6
Once the fins are out, remove the circular shroud, which should now be loose enough to just pull out. Keep an eye on the orientation of all these parts as you remove them to make it easier to assemble the cyclone back after cleaning.
Step 7
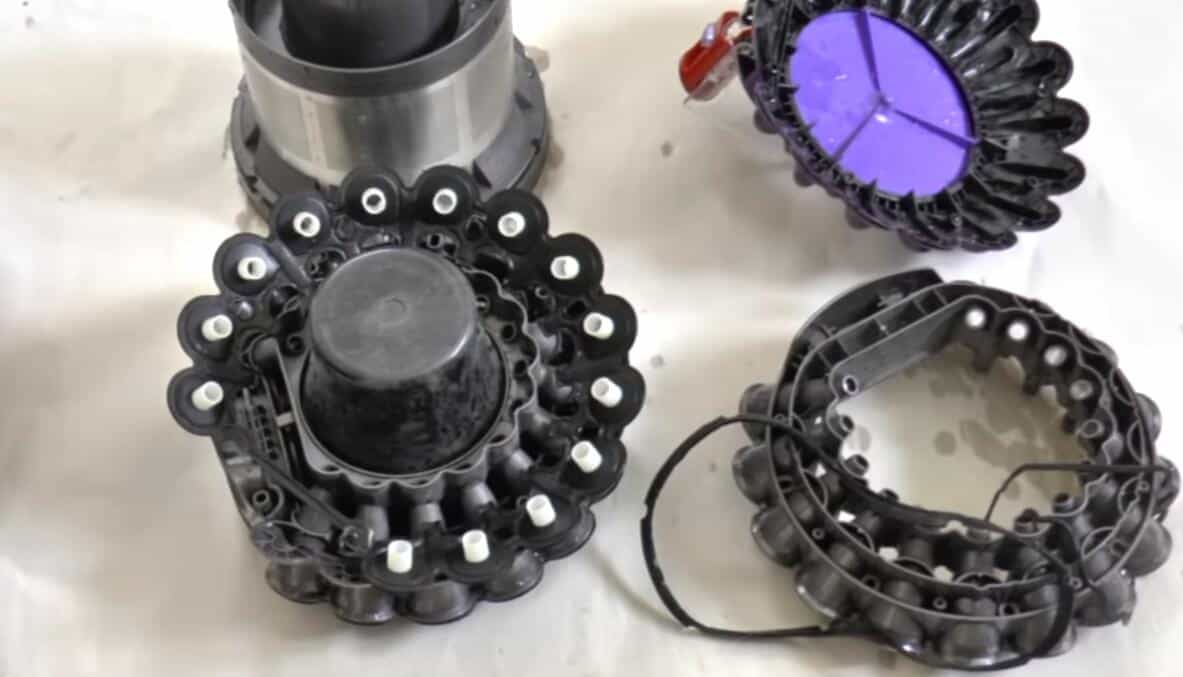
Use running water and a brush to clean the fins and the circular shroud ensuring to remove all the dirt blocking the tiny holes on the shroud. It is also a good idea to clean the dustbin and the top cap you had removed earlier.
You can also use your cordless stick vacuum or a handheld one to remove the dust lingering in the inside parts of the exposed cyclone. If you opt to clean all the parts using water, just be sure to let everything dry out completely before assembling the cyclone back.
How To Reassemble the Dyson Root Cyclone Vacuum
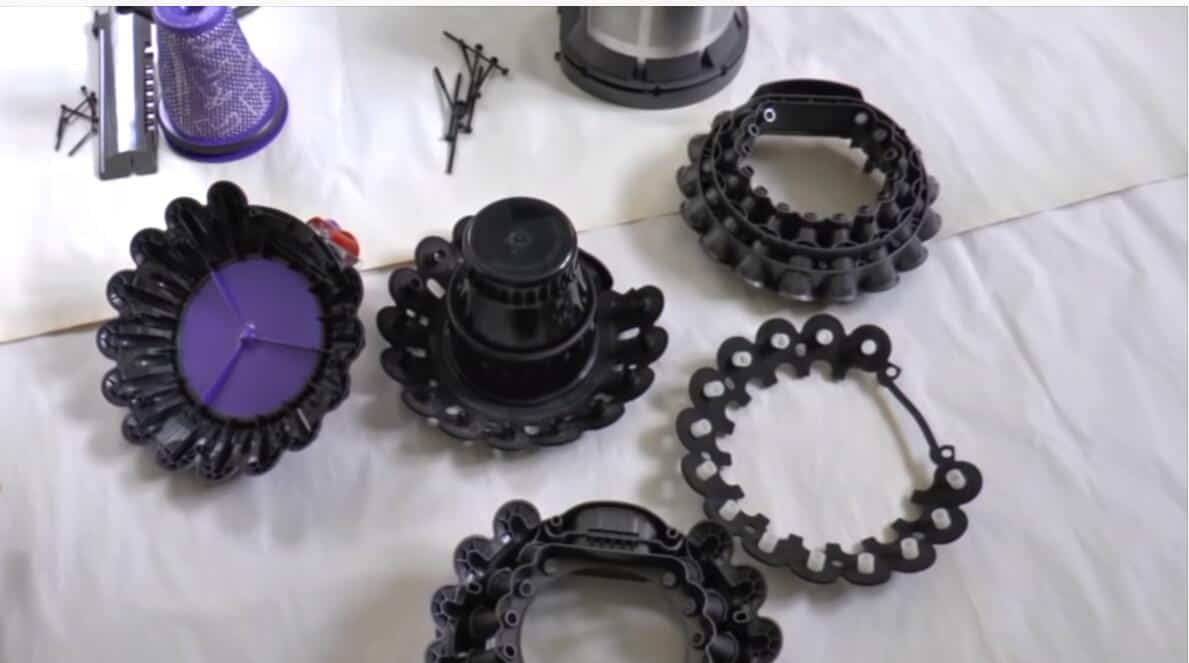
After cleaning and drying the various parts of the vacuum, first replace the shroud, making sure to place it back in the right direction. Next, replace the fin section and listen out for a clicking sound to ensure that this part is locked in firmly.
Remember the cap with the rod that you detached from the upper part of the cyclone? That part is next in line. As you put it back, make sure that the rod aligns with and goes through the release clutch hole at the bottom of the cyclone.
Next, grab your driver, replace the torque screws, and fasten that top cap. Finally, using the side latch, lock the transparent bin into the cyclone.
Summary
When it comes to how to disassemble the Dyson root cyclone in your vacuum, do not be stumped. All you need is the right tools and a little time to spare. You might be surprised by how well your Dyson begins to work soon afterward.
So, before you accuse your vacuum of being a slob and toss it out in frustration, try giving its inner parts a thorough clean. Chances are good that dust and debris are chocking your otherwise efficient sweeper.
If yours is a pet heavy household, try disassembling your root cyclone vacuum at least two times a year to get rid of the gunk that is likely slowing down your vacuum.
Got any questions or comments? Please leave them below!