While a normal, good old vacuum always comes in handy, what happens when you need to clean up liquid messes around the house, basement or even in the car?You use a wet-dry vacuum!
So, let’s get to it. In this article, I will show you how to use a wet dry vac cleaner. The exact features of your cleaner may vary depending on the brand but whether you are using a commercial vacuum or a domestic one, most work the same way.
What You Need To Know About Wet Dry Vacs
These cleaners boast powerful suction power and will clean a wine spot on a carpet and dry up a water-lodged basement with the same determination. I usually use mine primarily as a car vacuum for cleaning the seats and other small wet messes.
Other than liquids, you can use this vacuum like a regular cleaner for picking up dry debris. You might find your wet dry vac to be more tenacious than your normal vacuum especially when it comes to picking up tough stuff such as nails, wooden chips, and pet hair.
If you have used a regular ‘dry’ vacuum, you will find a wet dry vac generally easy to use as long as you have the right attachments. Even if this is your first time using a vacuum cleaner of any kind, you should be able to learn the ropes pretty fast.
Here are the steps to using a wet dry vac:
Step 1
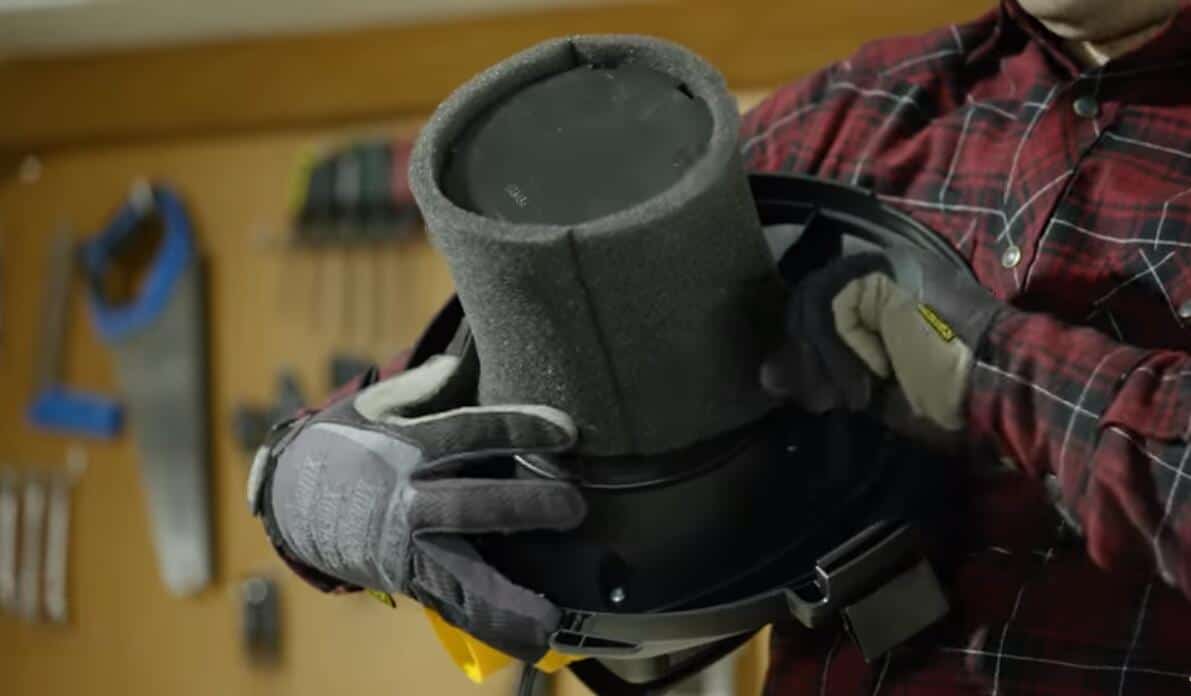
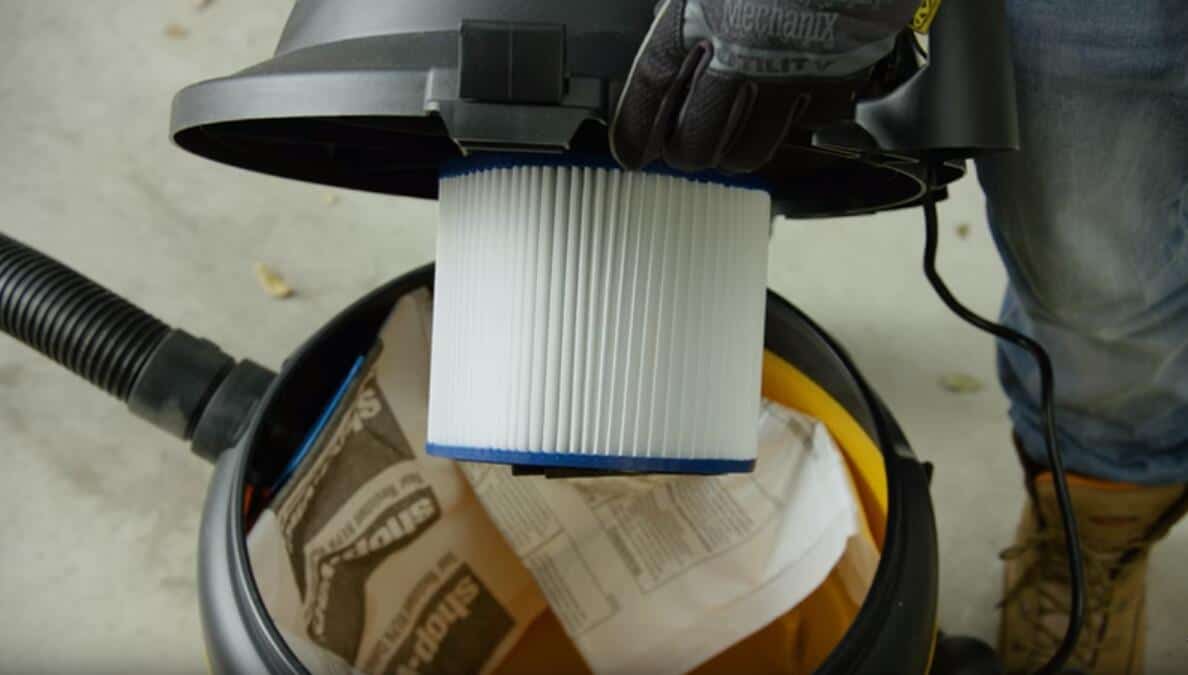
Check the type of filter your vacuum comes with. To do this, simply lift the top part of the vacuum to separate it from the tub. In most vacuums, flipping the panels on either side should be able to detach the head from the rest of the vacuum. The filter is right underneath this top part. Some vacuums come with paper filters while others have foam filters.
Step 2
Remove the filter. If your vacuum has a paper filter, you would need to remove it before vacuuming any liquids or semi-liquids. With some vacuum models you might be able to safely leave the paper filter intact if you are vacuuming a small amount of water.
That being said, it is always best to remove paper filters before vacuuming wet stuff. Leave the filter on if your vacuum comes with a foam filter. If using your vacuum to suck up dry debris, it makes more sense to leave the filter on.
First, if you are vacuuming in an enclosed area without a filter, the dust will just blow right back into the room which goes against the whole reason for vacuuming. Second, vacuuming dry dirt without a filter allows all sorts of debris to get to the motor, which will drastically reduce your vacuum’s lifespan.
Step 3
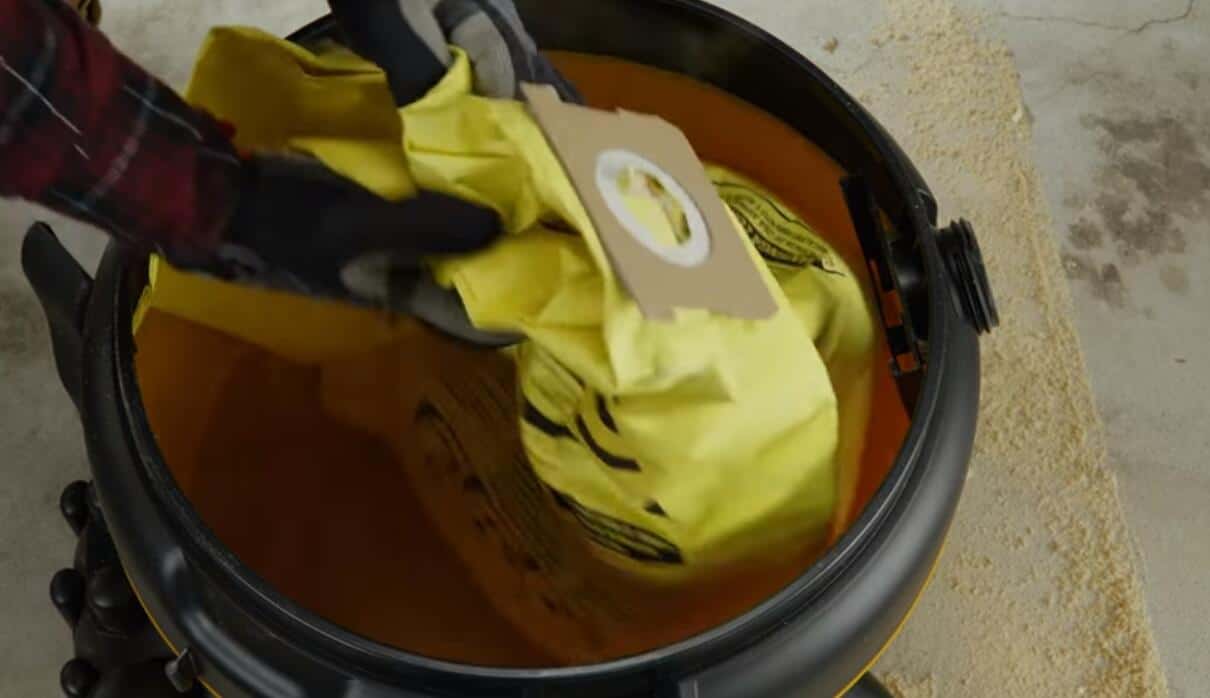
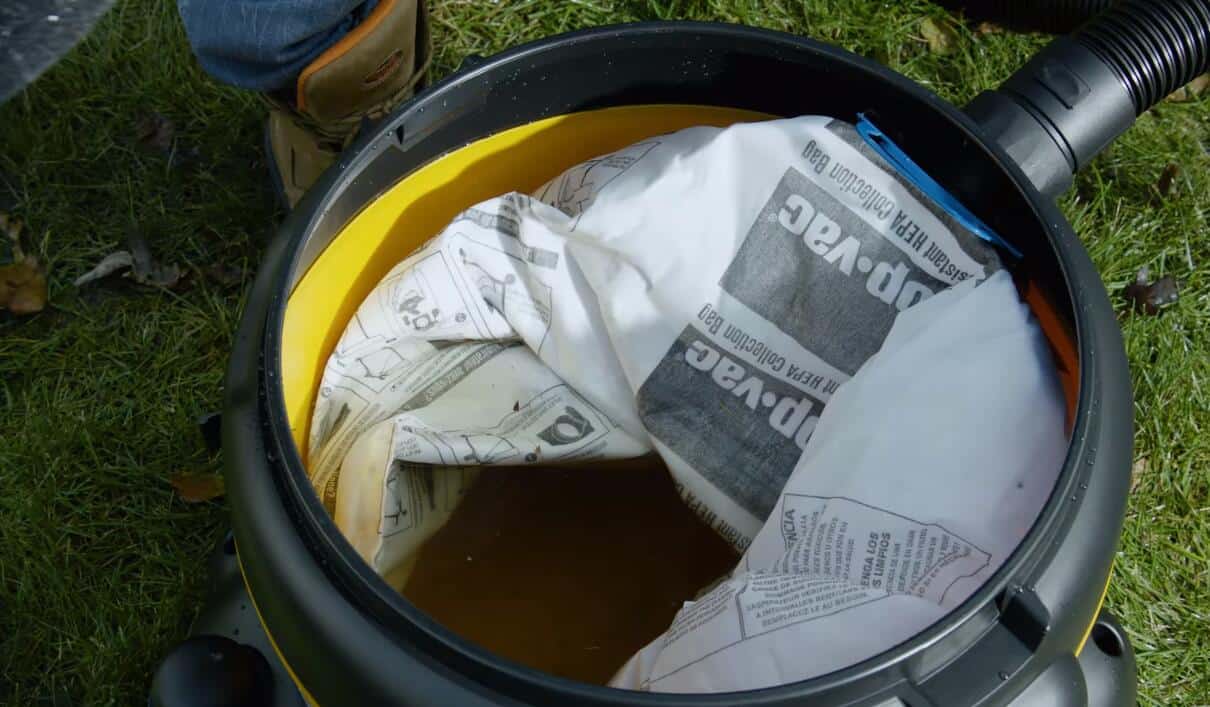
Adjust the bag appropriately. If your vacuum requires using a bag, you should definitely install one around the filter. A collection bag will especially come in handy when vacuuming dry stuff to avoid creating a mess inside the tub or clogging the filter. If vacuuming wet messes, do not install a collection bag and preferably remove the filter as well.
Step 4
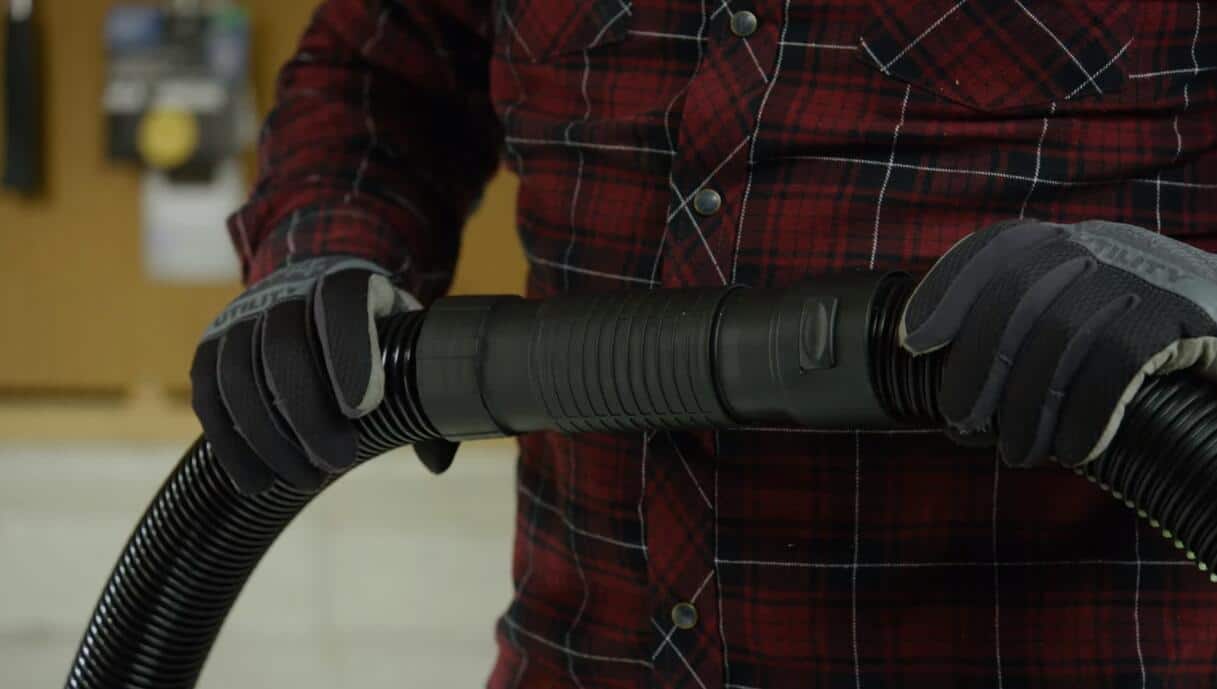
Fix the appropriate attachment to the hose. If you are cleaning a wet mess, a flat, wide attachment or one with a squeegee feature would be a great choice. You might want to use a small or larger attachment depending on the size of the area you are cleaning.
Step 5
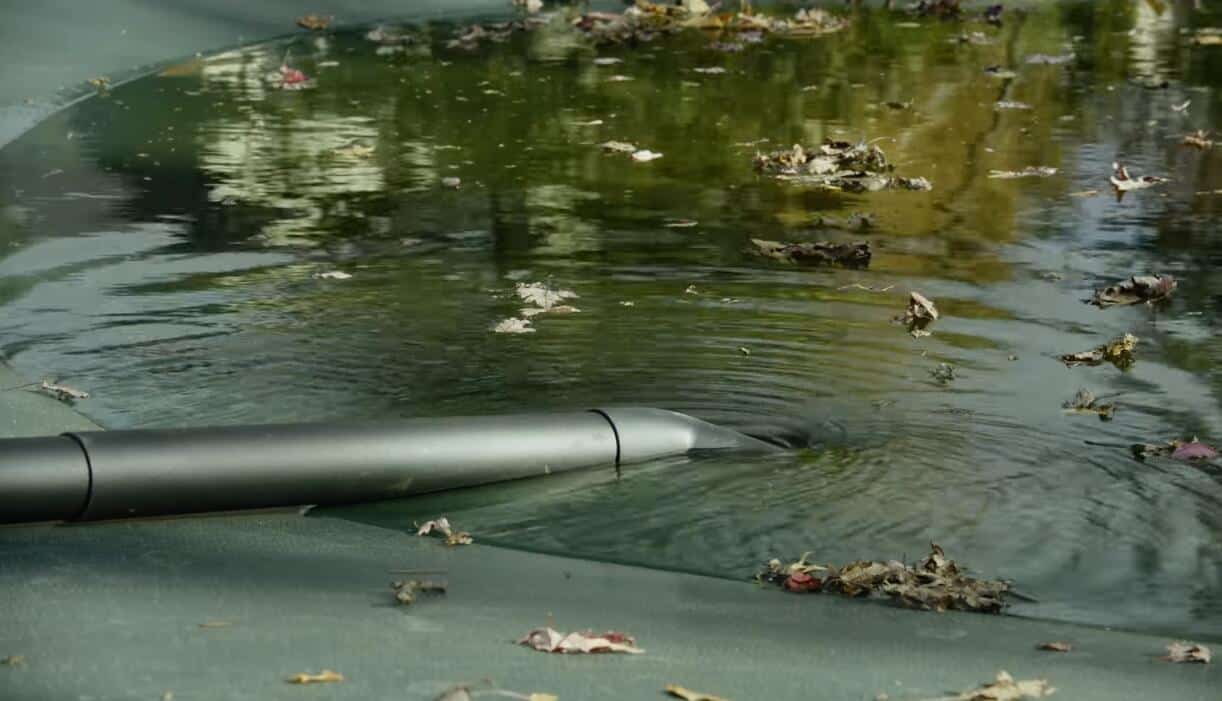
Plug and switch on the vacuum. Find the on-off button on the vacuum, switch it on, and begin to vacuum as usual. Making use of the vacuum’s suction power, the attachment will suck up water, pass it through the hose and dump it in the tub. Depending on how wet a surface is, you might have to go over it more than once. Other than wet messes, you can also use a wet dry vac in the same way to pick up dry items such as wooden chips, cereals, nails etc.
Step 6
Empty the tub. Depending on how much you need to clean, you might have to empty the tub severally. Inside the top part of the vacuum where you fit the filter is a ball that moves up and down. When the tub is full, this ball halts the vacuum’s suction power. This means you wouldn’t be able to vacuum effectively with a full tub. When the tub is full, the vacuum will produce a high pitched sound requiring you to stop vacuuming and empty the tub first.
Depending on your type of vacuum, to empty the tub, simply unplug it from the power source, remove the top cover, and pour the water out. If your vacuum comes with a drain at the bottom of the tub, simply remove the plug and allow water to drain on its own.
Step 7
Attach the pump to drain water from the tub. Some vacuum brands come with an optional pump that you can attach and use to drain water from the tab so you will not have to do the emptying manually. Once attached to the vacuum, fixed a garden pipe on the other end of the pump, and switch on the pump using the respective button. You can direct your garden hose outside, down the drain, or wherever you want the water to go.
Step 8
After you finish vacuuming, use warm water, and a mild soap to clean the tub. If you used the vacuum with the filter intact, remove the filter, clean it using mild soap and water, and allow it to dry completely before replacing it. Allow the tub to dry as well before installing the filter and storing it away.
Conclusion
Cleaning up wet messes using a vacuum cleaner is quite different from cleaning the dry stuff. A regular vacuum cleaner has its own perks but it might not clean liquids too well. In this case, a wet dry vac is your best bet. Used correctly with consideration for the filter and motor, this versatile cleaner can serve you for many years.