Shark vacuum cleaners are known to be powerful, easy to maneuver, and reasonably priced. But even the best Shark vacuum cleaner will stop working properly if it is not cleaned regularly.
Regardless of the type of Shark vacuum cleaner model you may have at home or in the office, it is critical that you know how to clean it. If you want to learn how to clean it including its filters, then you should read on.
How to Clean a Shark Vacuum Cleaner
Cleaning the vacuum for pet hair goes beyond aesthetics. It can ensure the longevity of a vacuum cleaner and get much from your investment.
You would know that a Shark vacuum cleaner needs to be cleaned when its suction is no longer as powerful as it used to be. Weird sounds and an unpleasant odor coming from the unit are other tell-tale signs your Sharkie needs a bath.
It’s recommended that a Shark vacuum cleaner is cleaned every three months. It won’t hurt to do it more regularly, especially if it heavily relied upon in cleaning the house.
You may also know that there are various models of Shark vacuum cleaners. This means that there will be differences in the access and removal of vacuum cleaner parts like filters.
It would be better to check your unit’s manual first so you’d be more familiar with the location of each part and more importantly, how to remove it.
And before cleaning the vacuum cleaner regardless of its model, here’s something you should remember: unplug the unit first to avoid any accidents from happening.
Cleaning the Brush
The brush is one of the first parts of a Shark vacuum cleaner to get jammed. This is particularly true for the Shark vacuum for pet hair model, the Shark Rotator NV752 TruePet. After all, pet hair can easily clog the brush if it is not cleaned regularly.
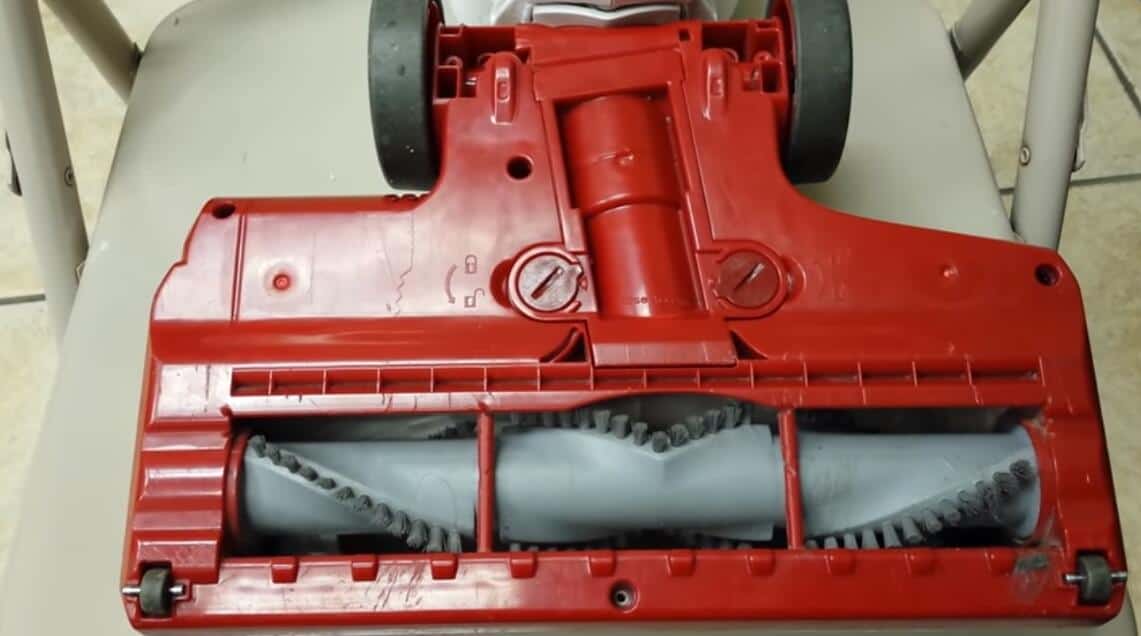
To clean the rotating brush of a Shark Rotator vacuum series, lay the unit on the floor. Place a bag or paper underneath it to prevent unwanted mess and avoid the vacuum from getting scratches.
Check out this clip regarding cleaning the brush of a Shark Rotator vacuum cleaner. You’ll notice that the brush was accessed after removing all the visible screws on the back of the cleaner head and taking off the cover.
You may then remove unwanted material that has wrapped around the brush like pet and string. Use a pair of scissors in cutting away dirt and tangled hair. You may also use your hands in removing bits of debris clogged in the brush. Once you have cleared all the debris, replace the cover.
If your Shark vacuum cleaner has a removable brush, you can pop it out of position and rinse it under running water. There’s no need to wash it with liquid detergent; brushing it down with water should do the trick.
Cleaning the dirt container
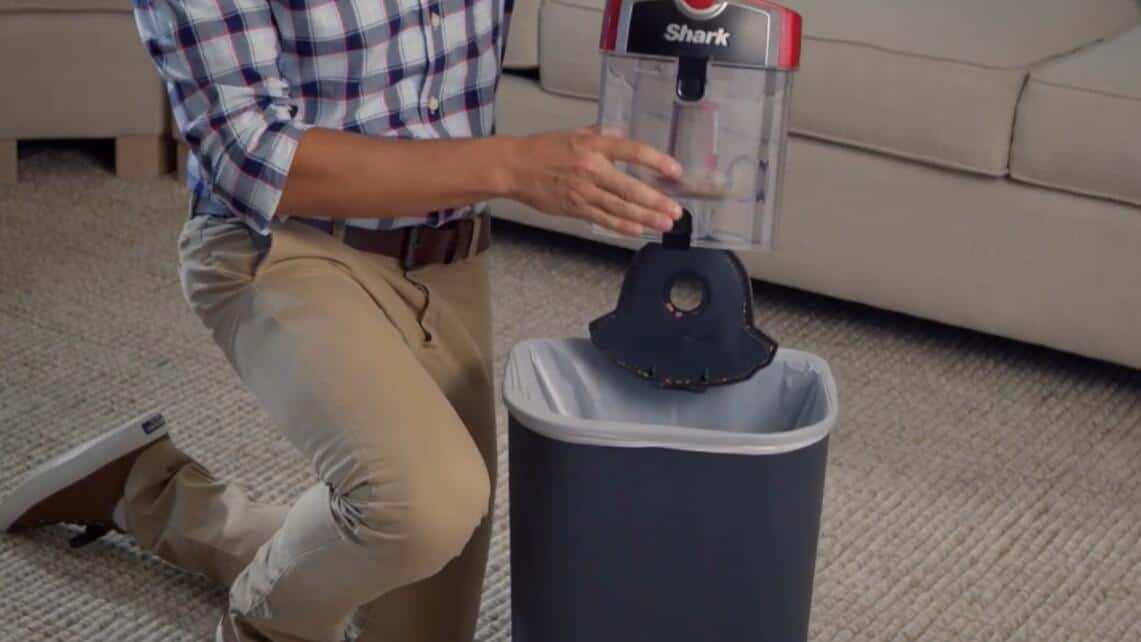
Shark Navigator and Rotator models make use of a bagless system, with all the dirt picked up stored in a removable plastic container. This is designed for easy and healthy disposal of dirt and debris.
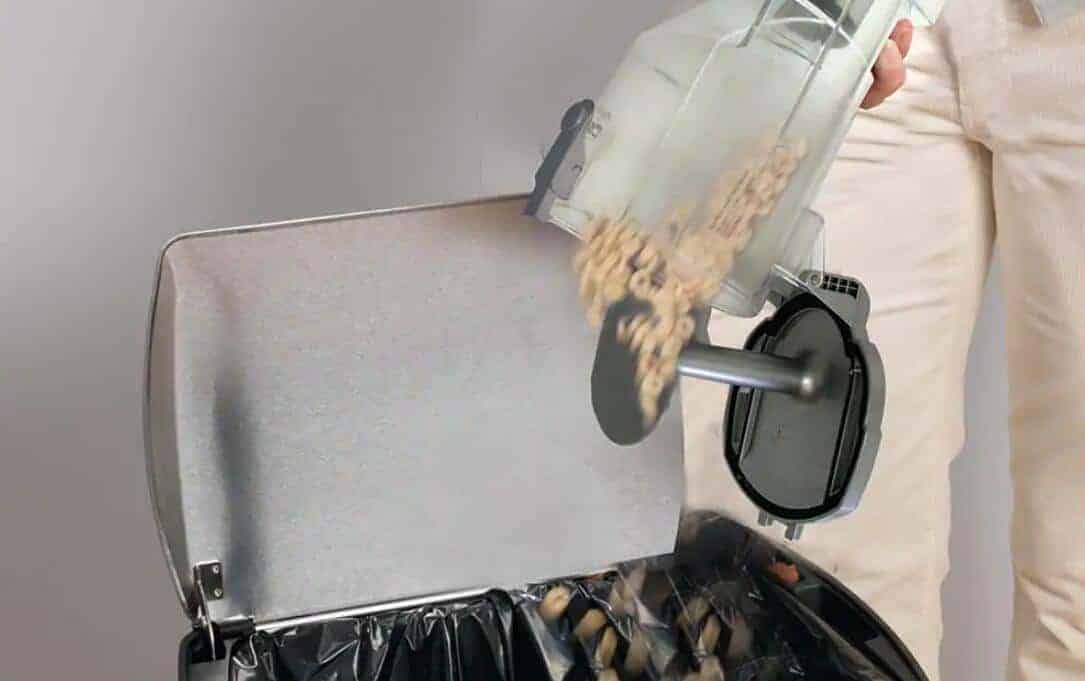
This YouTube video shows the proper way of emptying the dust cup of the NV650 Rotator vacuum cleaner. It begins by removing the dust cup from the vacuum by pulling up on the release latch found on the rear of the handle. You would then have to lift up the dust cup away from the vacuum cleaner’s body.
Next, hold the dust cup over a trash can. Press the door release button to get rid of debris and dirt that had accumulated in the dust cup. Then replace the dust cup back into the vacuum until you hear a click sound, meaning it is firmly in place.
The general rule of thumb is to empty the dirt container after every use of the vacuum cleaner. This is to prevent it from getting clogged and in the process, affecting the performance of the Shark unit.
It is also recommended that you wash the dust cup at least once every three months. Don’t worry as the dust cup has no electrical connections thus, submerging it in water should not be dangerous.
You may wash it with soap and cold water. Use a bottle brush with an elongated handle to get into the crevices of the canister.
While you are at it, you can also clean the plastic filter system. Spray it with water until the water comes out clean. Rinse it thoroughly and give it at least 24 hours to completely dry.
Cleaning the Vacuum Filters
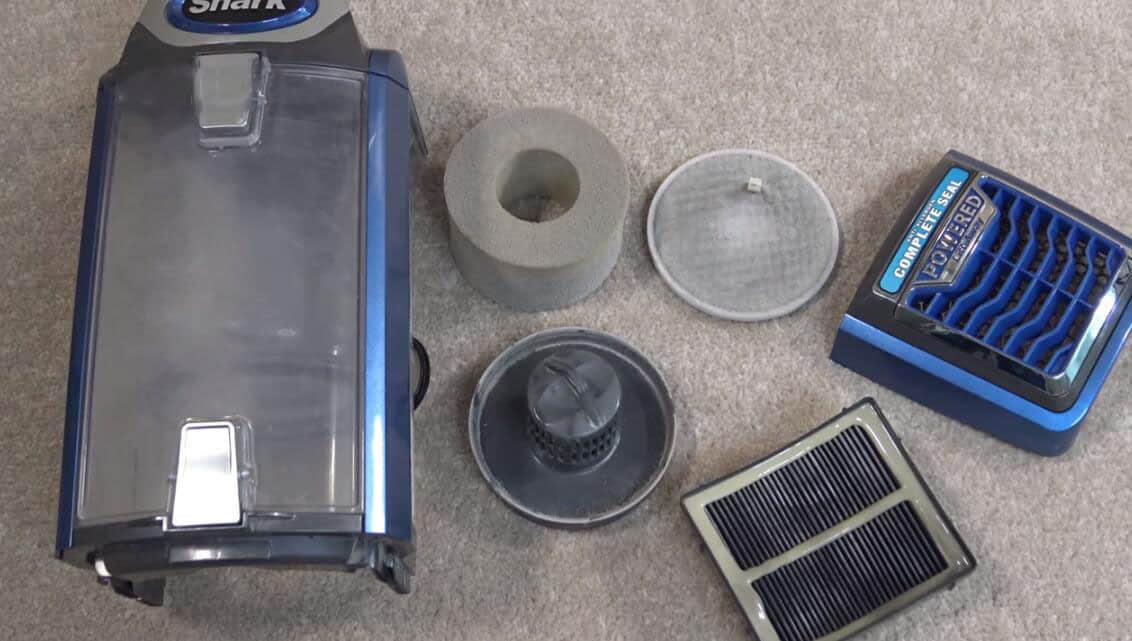
The filters of a Shark vacuum cleaner usually sit below the dust cup. Hence, removing the dust cup or canister will give you the opportunity to see the filters of your Shark vacuum cleaner. Depending on the model, your vacuum cleaner may have one or more filters manufactured from foam rubber or felt.
Remove the filters and rinse these thoroughly under running water. Squeeze excess water from the filters and let them dry for at least 24 hours.
Shark says that the filters should be cleaned only once a year. But if you have pets at home, you should consider cleaning the filters twice a year. It is also a good idea to buy a replacement so you can switch between filters and have your vacuum ready to clean a room anytime.
Conclusion
After reading the article, you should realize that cleaning Shark vacuum cleaner and its filter is a simple job. It would not take you more than an hour to do it! And there are no special tools required to pull off the task.
Perhaps more importantly, regularly cleaning the parts of a Shark vacuum cleaner including its filter can ensure that the unit will be in good condition for years to come.
In short, whether your unit is the bagless vacuum or the upright vacuum cleaner from Shark, make it a habit to clean it regularly.