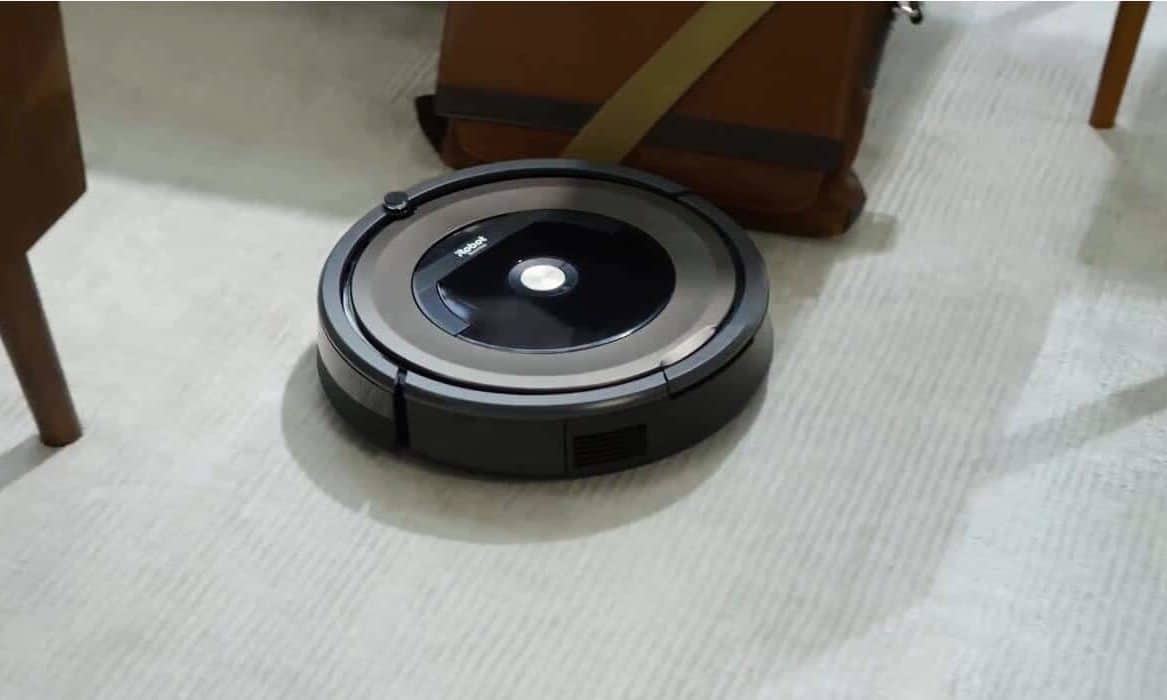
Whenever I empty my robot vacuum’s dustbin, the amount of pet hairs and dirt this little sweeper picks up from my rather clean-looking floors always surprises me.
An accumulation of debris and dirt is a sure way to get your robot to die a quick death. My Roomba has faithfully served me for three years now. The secret? Regular and thorough cleaning.
To prolong the life of your robo vac, you have to get your hands a bit dirty. In this guide, you will learn how to clean Roomba vacuum. I recommend doing a regular basic maintenance routine and the occasional deep cleanse.
Things You Will Need:
- A screwdriver
- Soft dry cloth
- Roomba cleaning tool
- Handheld vacuum
Basic Roomba Maintenance Routine

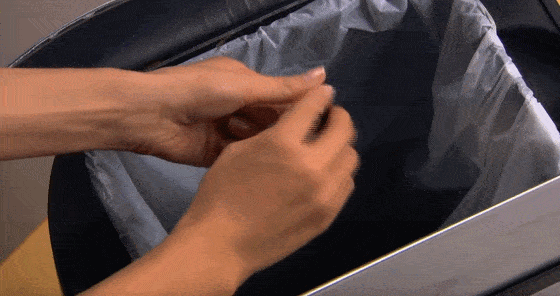
While it might sound like too much work, emptying your vacuum after each cleaning cycle goes a long way in prolonging its life.
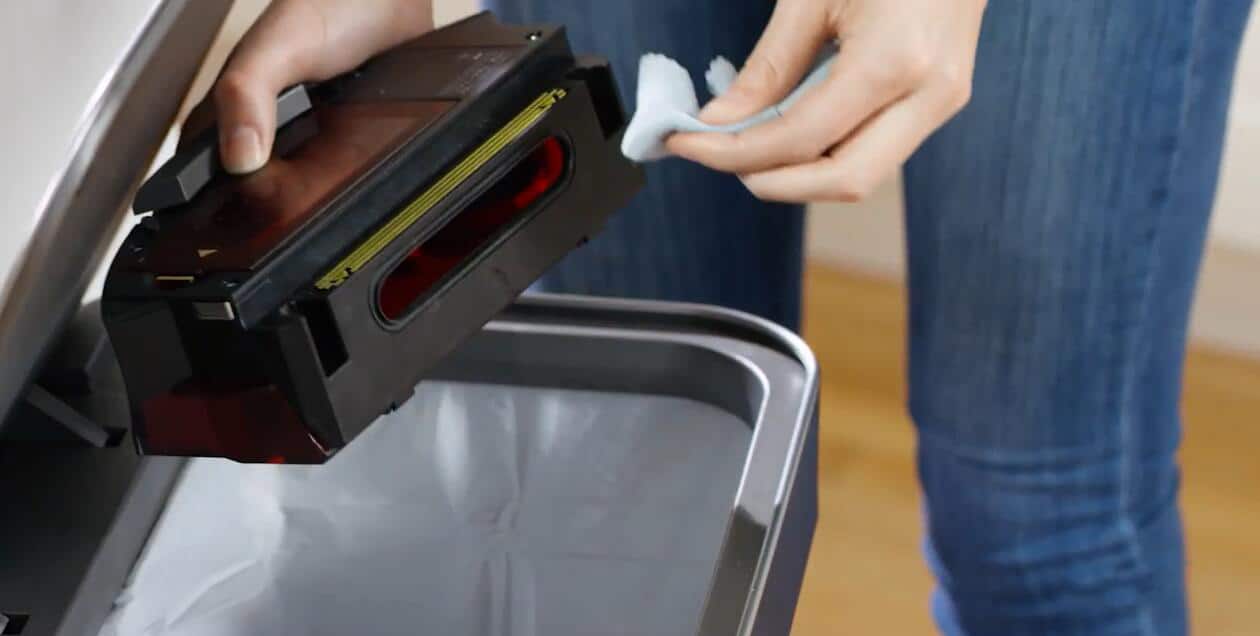
Every time the robot is done vacuuming, pull out the dustbin and empty its contents into a trashcan. Clean the inner parts of the dustbin using a dry cloth and if you have a few extra minutes, use a light handheld vacuum to blow out any lingering debris.
You also want to remove and clean the filter, which is a dirt haven unto itself. Tapping the filter on the side of the trashcan should get rid of any dirt but you can run the handheld vacuum over the filter to get a thorough clean.
If you have pets, I recommend using water to clean your filters at least two times a week. To avoid damaging the robot vacuum, let the filters dry completely before putting them back. If you vacuum often, replacing the filters at least once a month is a good idea.
Finally, use a damp cloth to wipe the cliff sensors along the bottom edge of the robot and the charging contacts both on the home base and underneath the Roomba.
Mid-Term Roomba Maintenance Routine
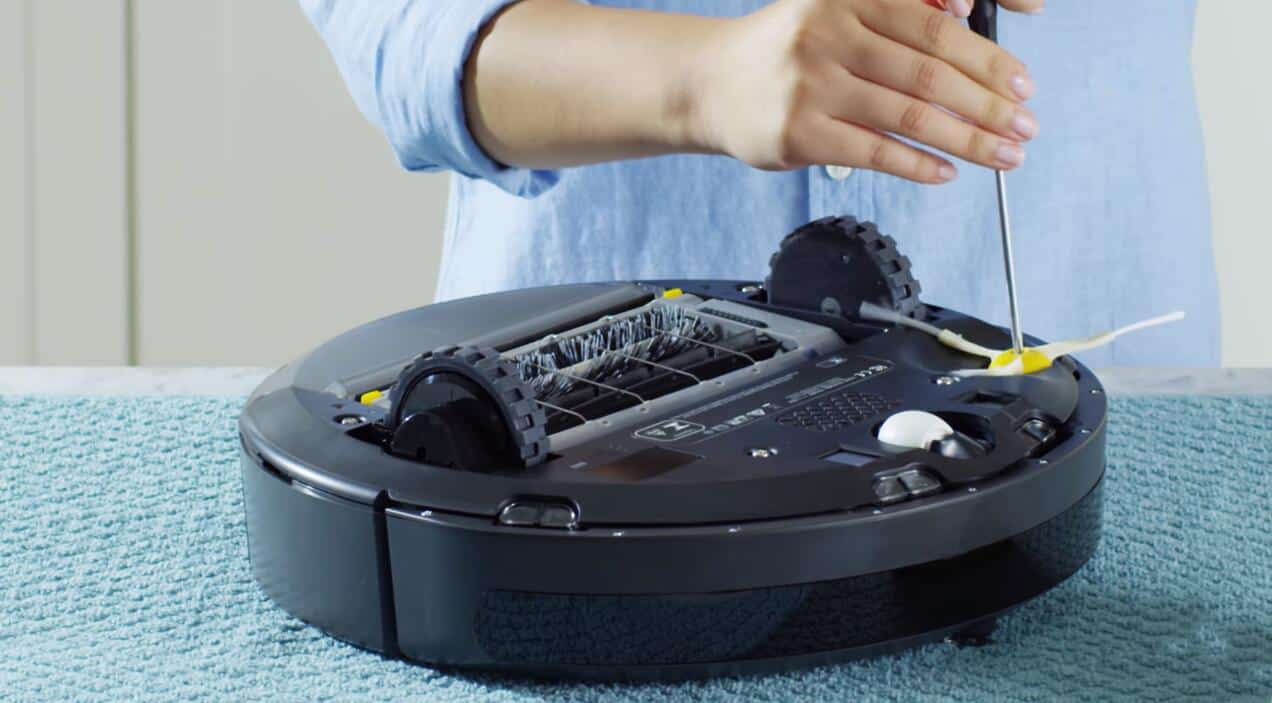
Depending on how often you vacuum, you might want to do a deeper cleanse once a week to tidy up the roller brushes or extractors, and side brush. Other than the filters, the brushes collect plenty of dirt. For this maintenance routine, you will need to grab your screwdriver to disassemble parts of the robot.
Cleaning Roomba Rollers/Extractors
As usual, empty the dustbin first and then use the handheld vacuum to completely clean the insides of the dustbin and filters. Use a dry cloth to wipe down the dustbin and set aside.
Next, open the roller enclosure by gently pressing on the two small yellow plastic caps on either side. Gently, pull out the brushes and set them aside to clean shortly.
Grab your handheld vacuum and blow out the dirt in the brush enclosure for a few minutes or until most of the muck is out. Using a damp cloth, give the enclosure a thorough wipe down.
Now, it is time to clean the roller brushes. First, I like to gently pull out the yellow bearings at the end of the rollers to dislodge all the dirt hiding there. Take the ring-like cleaning tool that came with your Roomba and pull it over the brush at least two times to remove all the hairs and dirt.
For the rubber roller, you might have to use a pointy or sharp tool, such as a small knife, to pull out the dirt on the surface. Just be careful not to cut the rubber. You can then run the handheld vacuum over the roller to remove any pesky hairs.
Some Roomba models such as the 800 and 900 series and the i7 come with tangle-free rubber extractors. For these, you can use a small soft-bristled brush to remove any surface debris.
Do not forget to clean the ends of the rollers. Before popping the bearings back in, use your finger or a knife to pull out hidden dirt around the axle.
Cleaning the Roomba Side Brush

The side or edge sweeping brush works equally hard and you should always check to see if any hairs have tangled around it. So, grab your screwdriver and release the brush from its module.
Using a dry cloth first and then the handheld vacuum, remove any debris on the brush and its module before screwing the brush back.
Long-Term Roomba Maintenance Routine
Regular cleaning of the side wheels and the little caster wheel at the front will keep the robot from damaging your hardwood floors. I recommend cleaning the wheels at least once every month or so.
Cleaning the Roomba Wheels
Use a damp cloth to clean the two side wheels, ensuring to remove all the dirt on the groves of the wheels. I like to press the wheels up and down, flip the robot over, and give it a little shake to get rid of any debris hiding inside.
To clean the caster wheel, firmly pull it out from its cavity and use your fingers to remove any debris and hair around the wheel’s axle.
Wipe down the wheel using a dry cloth. If you have a few extra minutes, blow the vacuum over the wheel cavity for a final clean before putting the wheel back.
Avoid submerging the robot or any of its parts in water as this will affect the gadget’s performance and void the warranty. Instead, use a clean damp cloth to wipe down the vacuum and related parts.
Conclusion
Your Roomba works hard to keep your home clean at a moment’s notice. Taking the time to give your little helper a good clean now and then will keep the unit in top shape for longer.
Let’s recap the steps on how to clean Roomba vacuum:
- Empty the bin and wipe down the filters after each vacuuming session
- Every week, clean the roller and side brushes
- Clean the side and caster wheels every month
If you have any questions or comments, please leave them below.